
Enhance Your Home's Privacy with Window Tint
- Resi-Tint Haven
- Feb 8
- 1 min read
Updated: Jul 2
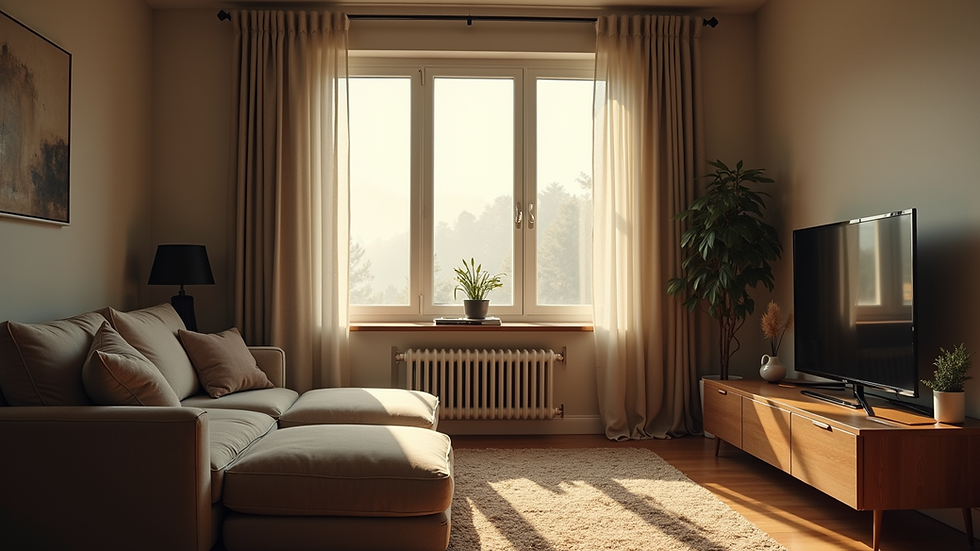
Privacy is one of the biggest benefits of window tint. The best part is you can choose different films for different areas of your home, giving each space the perfect balance of privacy, natural light, & style.
Choosing the Right Privacy Film
Every room has different needs, which is why window films come in a variety of shades & finishes.
Light Tint (45% to 20%): Offers a balance of privacy, natural light, & heat reduction. Ideal for living areas & front-facing windows.
Dark Tint (15% to 5%): Provides maximum daytime privacy while significantly reducing glare & heat.
Reflective Window Film (15% to 5%) :A mirrored finish enhances privacy, modernizes your property, & provides the same energy-saving benefits.
Important Notice:
Standard window tint provides privacy during the day. At night, if your indoor lights are brighter than outside, visibility into your home may increase.
Frosted Window Film
Need privacy 24/7? Frosted film completely obscures the view while still allowing natural light through. It's ideal for bathrooms, entryways, offices, conference rooms, glass partitions, & storefronts.
More Than Privacy
This quick & affordable renovation also adds curb appeal potentially increasing property value.
Find the Right Film for Your Property
Whether it's your home or business, the right window film can improve privacy, comfort, energy efficiency, & curb appeal. At Resi-Tint Haven, we offer Free Consultations to help you choose the perfect solution for every space.


Comments